How to make a realistic Grass with VRay 3dsMax tutorial

Open your 3ds Max application

NOTE: YOU COULD CLICK ON THE IMAGES TO ENLARGE
STEP I.

We will start by create a plane with a dimension of 200cm X 280cm


STEP II.
Open your material editor. Shortcut key = "M"
On the material editor, Create a VRay material.
Google SketchUp Pro Series, SketchUp & CADIn this tutorial we will learn how to export sketchup models to 3ds Max.

STEP I.
When we are done modeling with sketchup, make sure that all faces in your model are in a front face.
How do we know that a face is in its front face?
Refer to the image below:

If a face is in its back face, Right click on the face and click "Reverse Faces."


I used 3dmax 2009 and Vray SP2 in this tutorial.

PART I. Assigning vray as the default renderer

Step I. On you 3ds max window, hit F10 to open up the render set up.

Step II. On the common tab, go to Assign Renderer.

Step III. Refer to the image below.

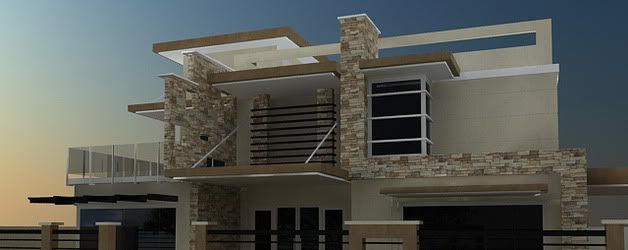
Suppose you are given by your Boss only 5 hours to finish an architectural visualization on a 5 storey commercial building with an area of about a 100 square meters. It seems impossible to finish such presentation in a very short period of time. It is "Possible."I, an architecture student and working part time as an architectural visualizer can do this with sofware suited for the work.
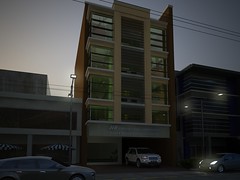
This image made using 4 software. 
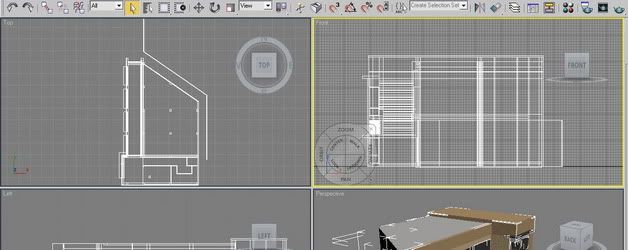
Plans are made using Autodesk's Autocad 2009. The 
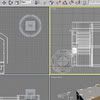
3d model is modelled using Googles Sketchup 7. Texturing and 
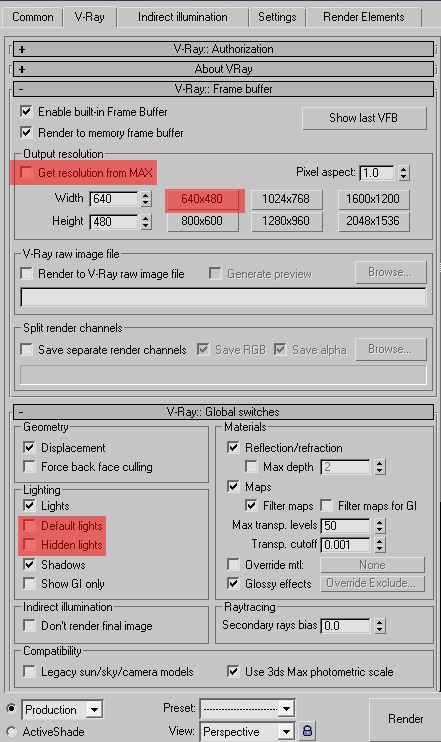
Lighting made using Autodesk's 3dsmax 2009 with Vray sp2 as its rendering engine. Post Processing is made using Photoshop CS4.